Check out this quick and easy recipe to learn how to pre-populate data in a secondary survey with data entry from the first survey in ArcGIS Survey123. Sasha Lockamy is a Solutions Engineer with over 20 years of experience providing GIS and geospatial support, enterprise applications systems engineering and administration, and geospatial program development. She has been with Axim Geospatial since June 2019 and brings her experience and personality to make our team better.
Have you ever looked for a recipe only to have to read through four seemingly unrelated paragraphs about a food blogger’s life before they get to the actual recipe? Here’s Sasha’s take on that!
This is my dog. He thinks his job is to walk me every day and that I am the coolest person on the planet. We named him Brisket because we BBQ a lot and it seemed like a good idea.
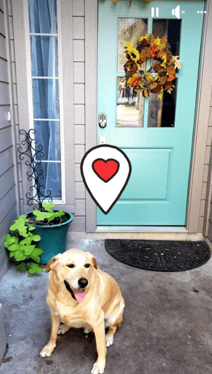
This is my other dog. She loves my husband the best but tolerates me because I give her lots of pets. We named her Roux Pikachu because we are obsessed with food and Pokémon in our household which is totally normal I am sure.

This is a Disco Chicken. I paint them and other stuff but these are the best sellers. Who knew? Apparently, I am not the only one who loves chickens and glitter.

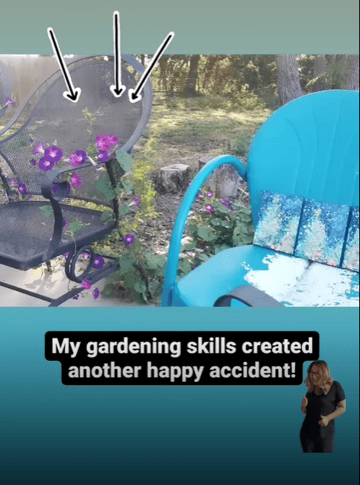
I like to garden but am not very good at it because I forget what I planted and where and to water it and basically all the stuff that makes one a good gardener. My favorite flowers are zinnias and morning glories because they persist in spite of my neglect.
Ingredients:
- ArcGIS Survey 123 Connect (Microsoft App)
- Microsoft Excel
- ArcGIS Online Account
- 1 Feature Layer w/ Global IDs Added
- ArcGIS Survey123 URL Encoding (Reference)
Recipe:
Step 1: Prepare Apps and Feature Layer
- On your PC, install ArcGIS Survey123 Connect (Microsoft App)and log in to your ArcGIS Online Account.
- In a web browser, log in to ArcGIS Online with the same account used above.
- In ArcGIS Online, create a new feature layer and add fields to the feature layer that will be populated via the form + add the Global ID field.
- Make note of the feature layer's item ID for future reference
Step 2: Create 2 Surveys Sourced to the Feature Layer:
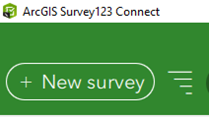
- 1. In ArcGIS Survey123 Connect, create a new survey
- Configure new survey. Give the new survey a title (example: Form 1)

- Select the radio button for Feature Service and select the Feature Layer created in Step 1 above
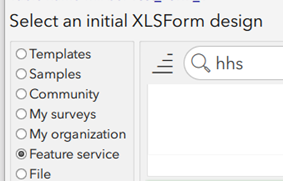
- Publish the Survey
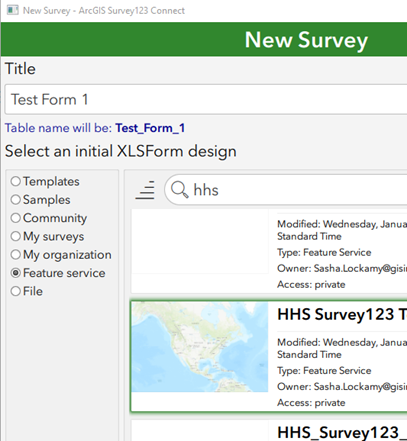
- Repeat steps above (Step 2) to create another new survey using the same Feature Layer (Example: Form 2)
Step 3: Create a Web Map Sourced to the Same Feature Layer
- In ArcGIS Online, create a new web map and add the feature layer (created in Step 1 above)
Step 4: Configure Pop-Up in Web Map to Link to the Second Form
- Add Survey Link to Web Map using HTML and URL encoding. Configure the Pop-Up for the feature layer as follows:
- Create new content
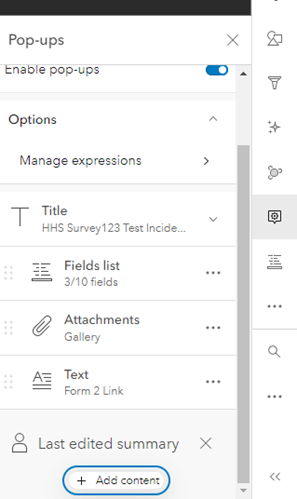
- Select type Text
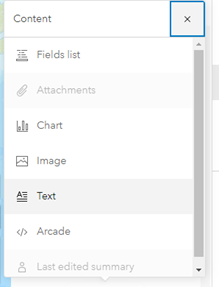
- Select Source
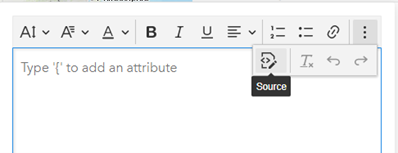
- Populate Source with html + URL encoding (see broken down below). Copy and paste the text below into the Source Box
<p>
<a href="https://survey123.arcgis.com/share/b06c910a1b61451991b29b845485e091?mode=edit&globalId={globalid}">Form 2 Link</a></a>
</p>
- Edit the Source text to replace the Item ID of the feature layer and the name of your second form. Note: Notice that once you enter this and switch the source back and forth it changes to this:
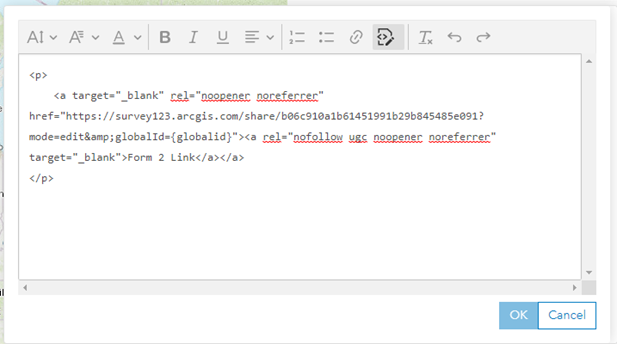
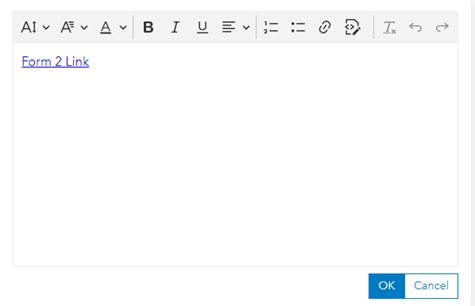
- Select the Source button again and preview the popup field that links to the second form.
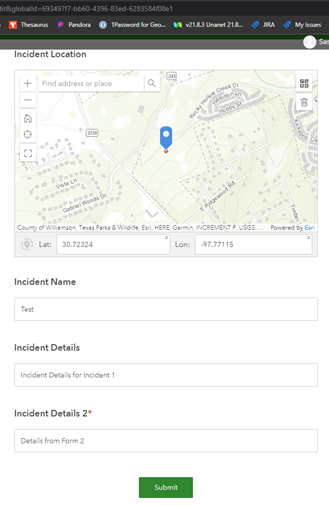
- If there was information entered into the first Survey, then that information will be prepopulated in the second form and now you are even cooler.
 *Disclaimer: No food blogger was consulted during the creation of this blog.
Contact Us
We hope this article has provided some value to you! If you ever need additional help, don't hesitate to reach out to our team. Contact us today!


